
I just finished this structure. It was built from styrene and my own drwings from memory. There is about 80-90 hrs in to it from the start of the drawing process. The loading can accommodate 2 36' stock cars at the same time. As a Sask Pool facility it would have normally been on the same track as the elevator but because of space I placed it at the east end of the yard opposite the loading platform.
The picture below shows part of the drawing showing spacing and position of the posts.

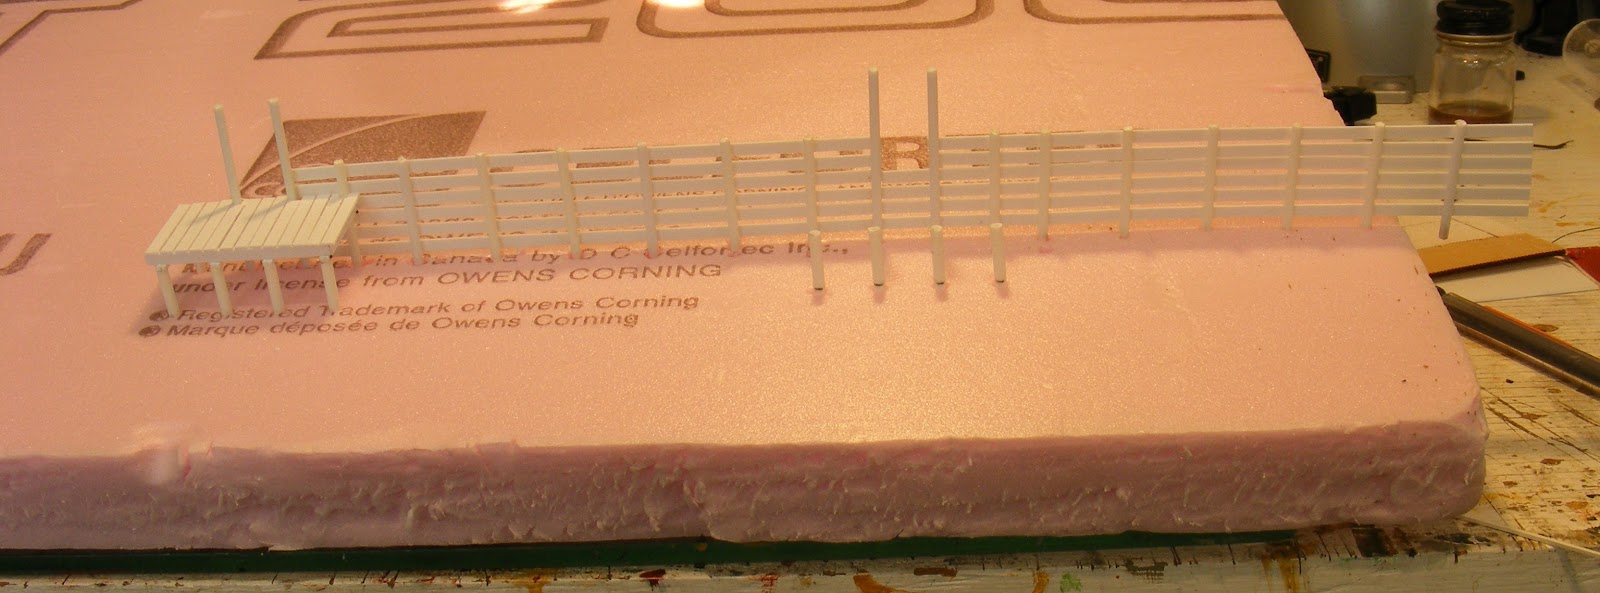
This shows the whole drawing. I had to punch in all the post holes for the front fence and loading platform into this piece of foam on my bench because the loading platforms had to be built in the standing position. I then used the same drawing to punch the post holes in the layout. OH... to make the holes in that nasty foam!! I first punch them with a compass that I have because it has a sharp point and then with a piece of pointed dowelling to make the hole big enough to get the post in without too much fighting. All the posts are 6" except for the ones on the front to the loading platform which are 8" so the 4x4" stringers to sit on.

This is the pattern I used to make the sides of the chutes and the associated fence going back. I also used the pattern on the right to make all the gates from. You also get to see one view of how the loading platform goes together. The picture is shinny in the middle because I put glue from a kids glue stick on the paper to hold the posts in place while I attach the the 2x10" boards. The hole in the top is where the pattern for the loading chute floor was.

This is the pattern I used to make most of the fences as the post spacing is the same for just about all of them. Again it is shinny from the glue. I just add a little more glue each time I make a different fence and when it is done you can peal it off without tearing the paper. I go through a lot of paper for any build I am doing.

You can see the completed platform on the left and the one in progress on the right. You can also see the marks on the front 4 posts that shows ground level.
Here I have added the stringers from the sides of the back posts to the top of the front posts forming a V. Then the joists are placed on top of the stringers. Once that is complete the top boards were added. Once this was done it was painted and weathered and moved to the layout. Each section of fence was built at the bench and moved to the layout and then glued together in the corners on the layout. This type of build had it's challenges.

All the gates are movable and the slides in the loading gates also slide back and forth. For the gate hindges I used eye bolts and a bent piece of wire for the eye to slide on to. The piece leaning up against the gate is the spacer that goes between the platform and the car.

Each board (2x10") was cut and then glued on. Once glued, nail marks were added in the board against each post. Even the gates have all the nail marks. They were then airbrushed white, weathered with either paints of chalks. This facility only has maybe 4 years of life left.

Here you can see the portable truck unloading chute that can be moved into place if a larger truck needs to be unloaded. Next to the chute there is a hydrant and hose for watering animals.

The feed troughs were made by cutting styrene 1/2" tubing in half. Ends were added to these pieces and then angle iron legs were added. The water troughs are made from 1/4" styrene tubing, painted , weathered and then had water added to them using white glue. Because this was a local facility it was the farmers responcibility to feed and water his own animals.

A 36' stockcar was able to hold 10 cows. The first pen on the left will hold 20 cows, the middle pen will hold 13 and the last pen will hold about 8 but is really for small stock like sheep and pigs. As I was adding the scenic material to the pens I used a horse and a cow to stomp them around to make the marks in the dirt before it dried.
